
FIRST, cut my 1/4 plywood into the right size squares, then framed them with 2x2s all the way around. Don't worry I was wearing saftey goggles to use my new saw from dad to protect my new expensive eyes. =)

With the "help" of someone special, next I cut out the 2" foam. I ordered this online for pretty cheap instead of gettin it at Joanns for a lot.


next we cut out the batting...

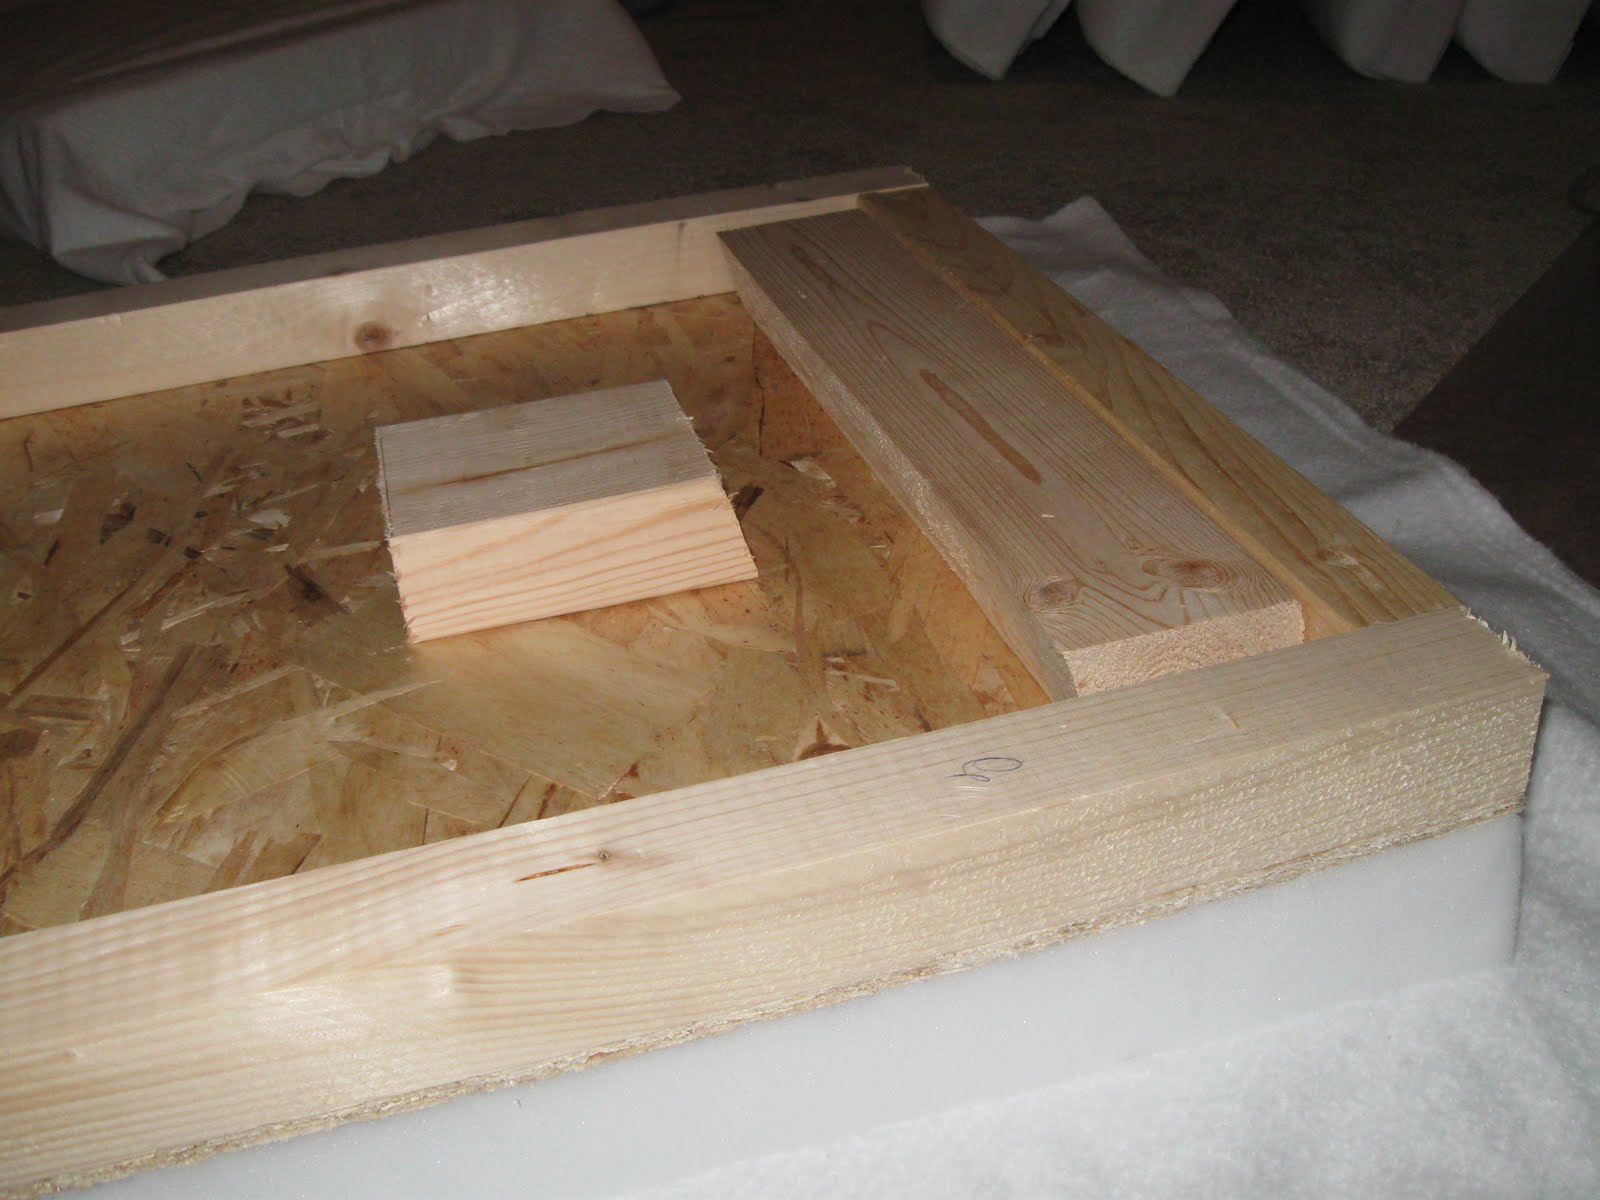
Next important step, attach the wall mount pieces- totally sweet. I screwed those little square like blocks into a stud in the wall so the headboard just hangs on it like a picture.
cover with the brown material...aaannnd notice the brown walls in the background...bla

Now time to assemble! Screw top and bottom squares together using my handy dandy clamps, then attach it to the ones next to it...


Thank you Garrett and Ethan for your photography....and sydney handing me screws one at a time. HA! Stand er up and see what it looks like!

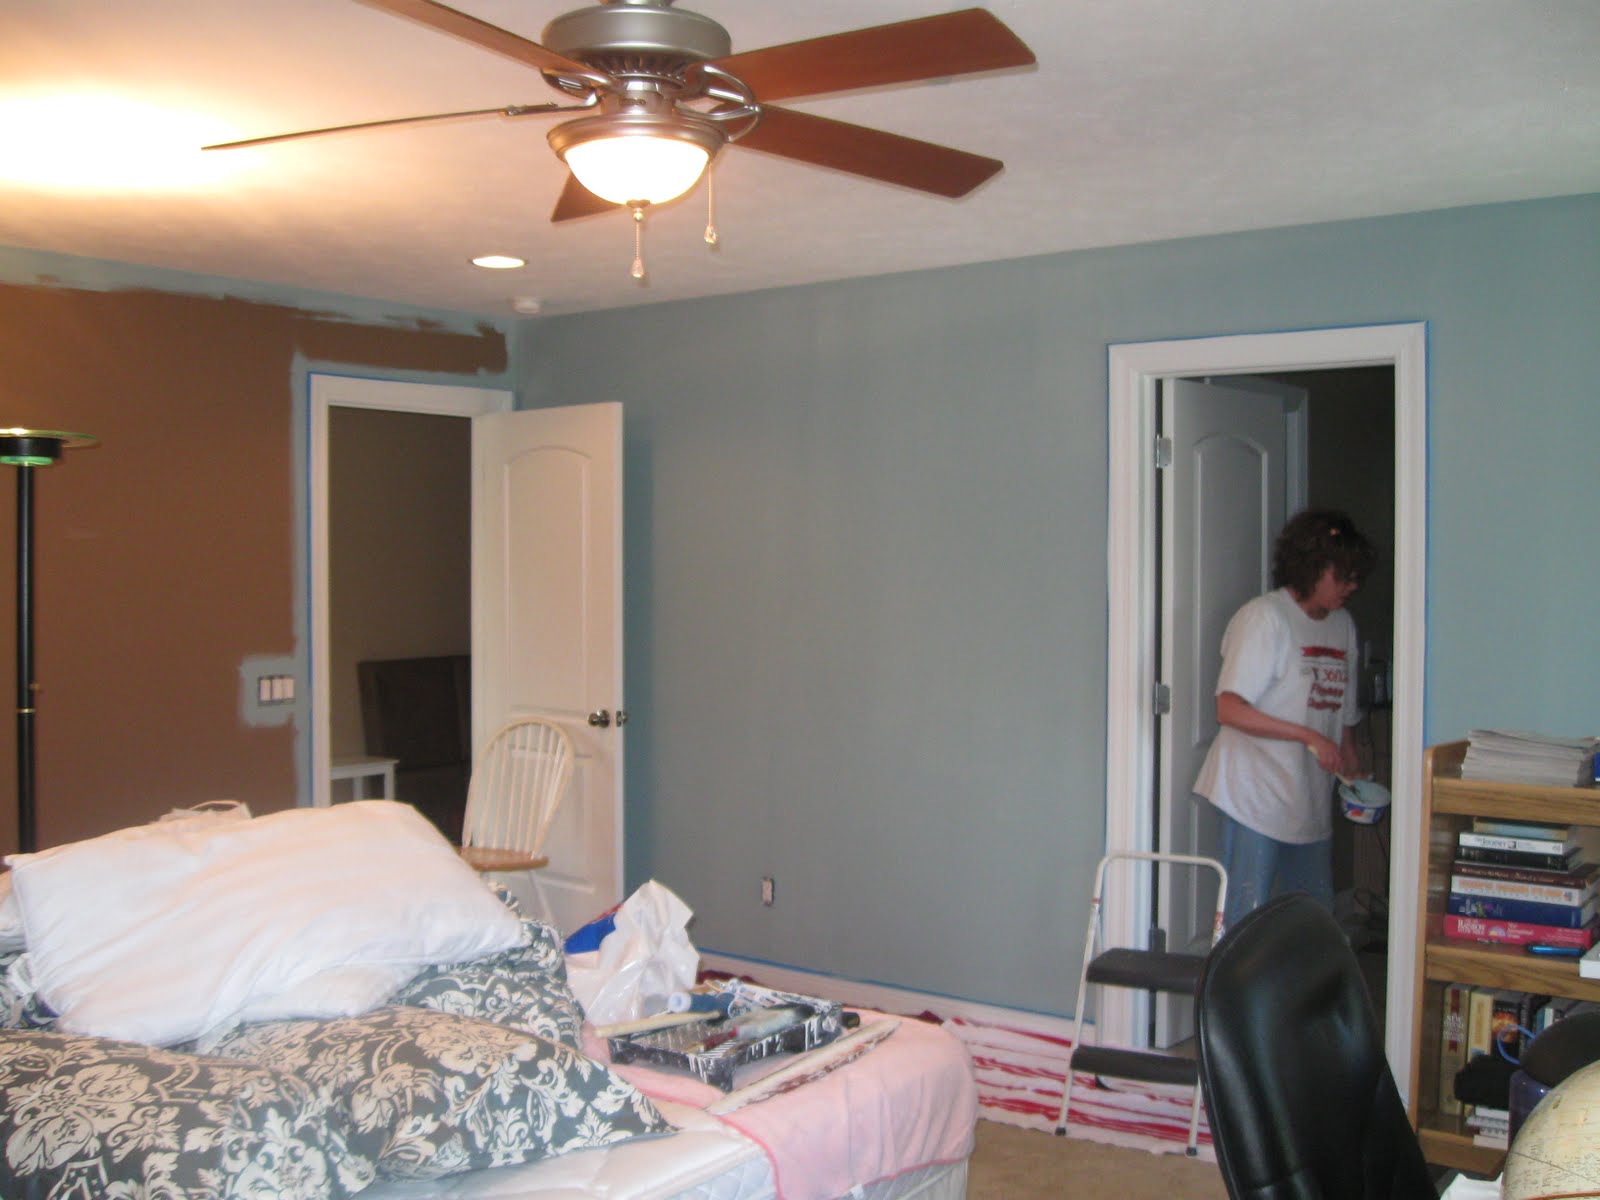
and then since the walls were brown, it was time to lighten up the room to match it all...so Susie helped me paint and Joe watched the kids and we knocked out the painting in 2 days! (we painted syd's room purple just for fun too- it was painted the hallway color when we moved in cause we weren't even pregnant with a girl so how would we know!?!)


Don't really know what's happening with her furniture in there...pay no attention. haha. ANYHOO, check out the finished product!!

Now if we had matching nightstands.....maybe we'll find some nice ones in 2.5 years. haha!


